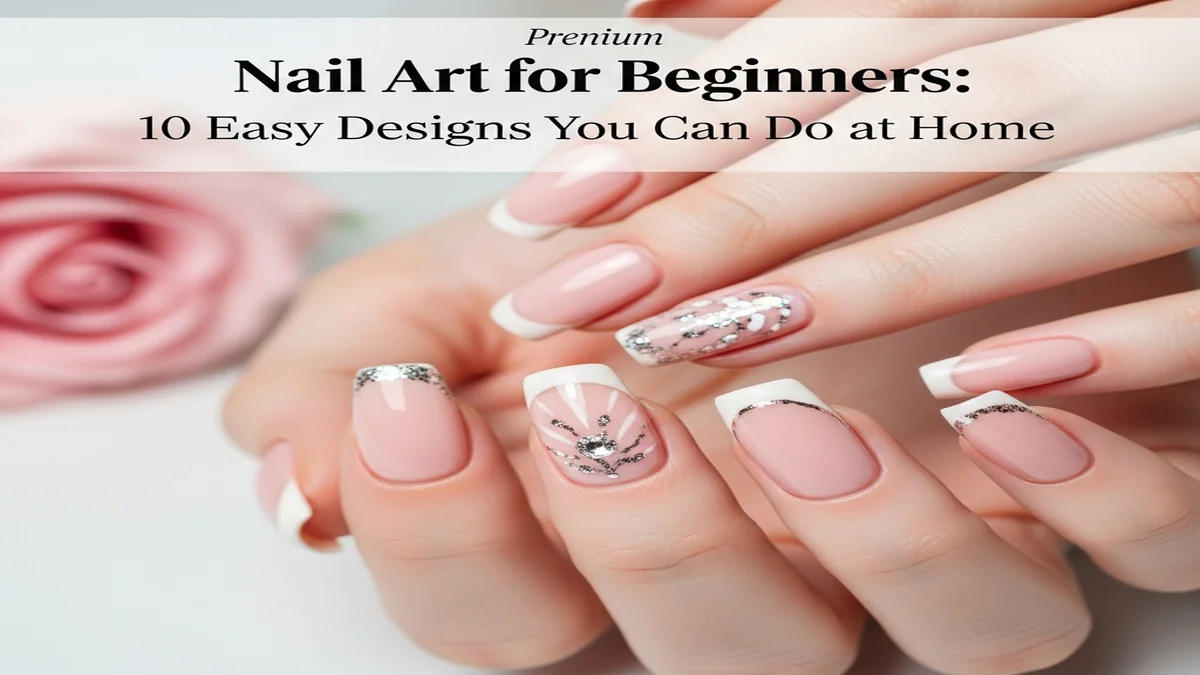
Nail Art for Beginners: 10 Easy Designs You Can Do at Home
Nail art for beginners does not require artistic talent, expensive tools, or hours of practice. The best beginner nail designs use simple techniques like dots, lines, and tape to create looks that appear far more complex than they actually are.
This guide walks you through 10 easy designs with step-by-step instructions, using tools you probably already have at home. By the end, you will have the confidence to create salon-worthy nail art in your living room.
Essential Tools for Beginner Nail Art
Before we start, gather these basic supplies. You do not need to buy professional nail art tools right away.
Must-haves:
- Base coat and top coat
- 3-5 polish colors (a light, a dark, and a few accent colors)
- Tape (scotch tape or painter's tape works perfectly)
- Toothpicks or bobby pins (as dotting tools)
- A thin makeup brush or small paintbrush
- Nail polish remover and a small brush for cleanup
Nice to haves (if you want to invest):
- Dotting tool set ($5-10)
- Striping tape rolls ($3-5)
- Nail art brushes set ($8-15)
- Stamping kit ($10-20)
Design 1: Classic Polka Dots
The easiest nail art design that looks instantly playful and put-together.
Tools needed: Bobby pin or dotting tool, two contrasting polish colors
Steps:
- Apply your base color and let it dry completely (at least 10 minutes)
- Dip the rounded end of a bobby pin into your accent color
- Press gently onto the nail to create a dot
- Repeat in a pattern: scattered random dots, a line of dots, or a grid
- Let dry and seal with top coat
Beginner tips:
- Re-dip the bobby pin every 2-3 dots to keep them even
- Start with larger dots (easier to control) before trying tiny ones
- White dots on a dark base is the most forgiving color combination
- Practice on a piece of paper first to get a feel for the pressure
Design 2: Tape Stripes
Crisp, clean lines that look impossibly precise — all thanks to tape.
Tools needed: Scotch tape or painter's tape, two polish colors, scissors
Steps:
- Apply base color and let dry COMPLETELY (this is crucial; at least 20 minutes or use quick-dry drops)
- Cut thin strips of tape and press them onto the nail in your desired pattern (diagonal, horizontal, V-shape)
- Apply your second color over the entire nail, covering the tape
- While the polish is still wet, peel off the tape carefully at a 45-degree angle
- Let dry and apply top coat
Beginner tips:
- The base coat MUST be fully dry before taping, or you will peel it off with the tape
- Press tape edges down firmly to prevent polish from bleeding underneath
- Peel tape while polish is still wet for the cleanest lines
- Start with a single diagonal stripe for the easiest version
Design 3: Color Block
A modern, graphic design that uses tape to create bold sections of different colors.
Tools needed: Tape, 2-3 polish colors
Steps:
- Apply your first color to the entire nail, let dry completely
- Place tape to block off the section you want to keep in the first color
- Apply second color to the exposed area
- Remove tape while wet
- For three colors, repeat the process with another section
Color combo ideas:
- Pink and white diagonal split
- Nude base with a colored tip (modern French)
- Three pastel blocks (pink, lavender, mint)
Design 4: Simple Floral
Tiny flowers that look intricate but are just five dots arranged in a circle.
Tools needed: Dotting tool or bobby pin, 2-3 colors
Steps:
- Apply base color, let dry
- Using a dotting tool, place 5 dots in a circle to form petals
- Place a contrasting color dot in the center
- Repeat on accent nails or all nails
- Seal with top coat
Variations:
- White petals with gold centers on a nude base
- Multi-colored petals (one color per petal) for a spring look
- Tiny flowers clustered in one corner for a minimalist approach
Design 5: Gradient or Ombre
A smooth color transition that looks like it required airbrush skills but actually uses a kitchen sponge.
Tools needed: Makeup sponge (or kitchen sponge cut small), 2-3 polish colors, aluminum foil
Steps:
- Apply a light base coat color, let dry
- On a piece of foil, paint stripes of your gradient colors side by side
- Press the sponge into the paint stripes to pick up the colors
- Dab the sponge onto the nail in a gentle bouncing motion
- Repeat 2-3 times for more intensity
- Clean up edges with a small brush dipped in remover
- Apply top coat to smooth the texture
Best gradient combos for spring:
- Light pink to lavender
- Peach to coral
- White to sky blue
- Nude to rose gold
Design 6: Half Moon
A retro-inspired design where the lunula (the half-moon at the base of your nail) is left bare or painted a different color.
Tools needed: Reinforcement stickers (the ones for binder holes) or round tape, two colors
Steps:
- Apply your base color to the entire nail, let dry
- Place a round reinforcement sticker at the base of the nail, covering the half-moon area
- Apply your second color over the rest of the nail
- Remove the sticker while wet
- Seal with top coat
Modern twists:
- Nude half-moon with a bold color body
- Glitter half-moon with a matte color body
- Inverted: color at the base, nude at the tip
Design 7: Minimalist Line Art
Single thin lines that create maximum impact with minimum effort.
Tools needed: Thin brush or striping tape, steady hand, accent color
Steps:
- Apply base color, let dry
- Using a thin brush dipped in polish, draw a single line across the nail
- Options: horizontal line across the center, vertical line off-center, diagonal, or curved
- For extra precision, use striping tape laid down directly as the design (leave it on and seal with top coat)
- Seal with top coat
Best line art ideas:
- Single black line on nude (instant chic)
- Gold line on dark green (luxe look)
- White line on any pastel (clean and modern)
Design 8: Glitter Fade
Place glitter at the tips and let it fade toward the cuticle for an effortless sparkle.
Tools needed: Sheer glitter polish, base color
Steps:
- Apply base color, let dry
- Apply glitter polish only to the tip of the nail
- With a second stroke, extend the glitter slightly toward the center (but lighter)
- Leave the base of the nail with just the base color showing
- The natural thinning of glitter creates a gradient effect
- Seal with top coat
This works because: The glitter naturally thins out as you move away from the tip, creating a professional-looking fade without any special technique.
Design 9: Abstract Swoosh
A trendy, artistic design where you paint a single freeform swoosh or wave across the nail.
Tools needed: Thin brush, contrasting color
Steps:
- Apply base color (nude or light shade works best), let dry
- Load a thin brush with your accent color
- In one smooth motion, paint a curved line across the nail
- The line can go from one corner to the opposite edge, creating an organic wave
- Do not worry about perfection — the beauty is in the imperfection
- Seal with top coat
Color combos:
- White swoosh on brown (chocolate aesthetic)
- Black swoosh on nude (minimal chic)
- Multiple colored swooshes on white (abstract art)
Design 10: Stamping (Easiest Advanced Look)
Nail stamping uses pre-made designs on metal plates to transfer intricate patterns onto your nails in seconds.
Tools needed: Stamping kit (plate, stamper, scraper, stamping polish)
Steps:
- Apply base color, let dry
- Apply stamping polish to the design on the metal plate
- Scrape excess polish off the plate with the scraper
- Press the silicone stamper onto the plate to pick up the design
- Roll the stamper onto your nail to transfer the design
- Seal with top coat
Why beginners love stamping: It gives you access to complex designs (lace, mandalas, geometric patterns, florals) without any freehand skill. The plates do all the artistic work for you.
Beginner Nail Art Mistakes to Avoid
Not waiting for layers to dry: This is the number one mistake. Every layer must be fully dry before adding the next, or you will smudge your design.
Using too much polish: Thick layers of polish take longer to dry, are more likely to smudge, and create a bumpy texture. Use thin, even coats.
Skipping base coat: Base coat prevents staining and gives polish something to grip. Never skip it.
Skipping top coat: Top coat seals your design, adds shine, and dramatically extends wear time. It also smooths out any texture from dotting or sponging.
Not cleaning up edges: Use a small brush dipped in nail polish remover to clean up any polish that got on your cuticles or skin. This step transforms a messy-looking manicure into a professional one.
Building Your Nail Art Skills
Once you are comfortable with these 10 designs, you can start combining techniques:
- Dots + lines = floral designs
- Tape + gradient = geometric ombre
- Stamping + color blocking = complex-looking art
The most important thing is to have fun and experiment. Nail art is forgiving because you can always remove it and start over. With practice, you will develop a steadier hand and a better eye for design.
For inspiration on which colors to try, take GlowAI's color season analysis quiz. It will identify the specific colors that complement your skin tone, helping you choose nail art color palettes that make your hands look their absolute best.
Frequently Asked Questions
What is the easiest nail art for beginners?▼
The easiest nail art designs for beginners include polka dots using a bobby pin, simple stripes with nail striping tape, French tips with guide stickers, and ombre gradients using a makeup sponge. Start with two-color designs for simplicity.
What tools do I need to start nail art?▼
Essential nail art tools for beginners include dotting tools, thin nail art brushes, striping tape, a cleanup brush with acetone, a top coat, and a few contrasting polish colors. A stamping kit is a great next step for intricate patterns.
How do I make nail art last longer?▼
Make nail art last longer by starting with clean, dehydrated nails, applying a base coat, using thin layers of polish, sealing the design with two coats of top coat, and capping the free edge. Reapply top coat every two days for protection.
Can I do nail art with regular polish?▼
Yes, most nail art designs work beautifully with regular polish. Gel polish gives longer wear but regular polish is easier to correct mistakes and remove. Use a quick-dry top coat with regular polish to set your nail art faster.
What nail art designs are trending in 2026?▼
Trending nail art for 2026 includes micro-French tips, chrome accents, abstract swirls, negative space designs, gemstone embellishments, and glazed textures. Minimalist, clean designs with one statement detail are the most popular approach.
How long does it take to learn nail art?▼
Basic nail art techniques like dots, stripes, and gradients can be learned in one to two practice sessions. More complex designs like detailed freehand art take weeks to months of practice. Start simple and build skills gradually.
Is nail art damaging to nails?▼
Nail art itself is not damaging when done correctly. Damage comes from aggressive removal, picking off polish, or excessive filing. Always remove designs gently with proper remover and keep nails hydrated with cuticle oil between designs.
What are the best nail art designs for short nails?▼
Best nail art for short nails includes single-accent nail designs, minimalist dots, delicate lines, micro-French tips, and negative space art. These designs look proportional on shorter nails without overwhelming the nail bed.
Discover Your Color Season
Find the colors that make you glow with our AI-powered color analysis.
Join 10,000+ beauty enthusiasts. Unsubscribe anytime.
Was this article helpful?
Continue Your Beauty Journey
Spring Nail Trends 2026: 15 Must-Try Designs for Every Skin Tone
Spring nail trends 2026 — 15 must-try designs from chrome French tips to glazed pastels. Find the perfect nail look for your personal style.
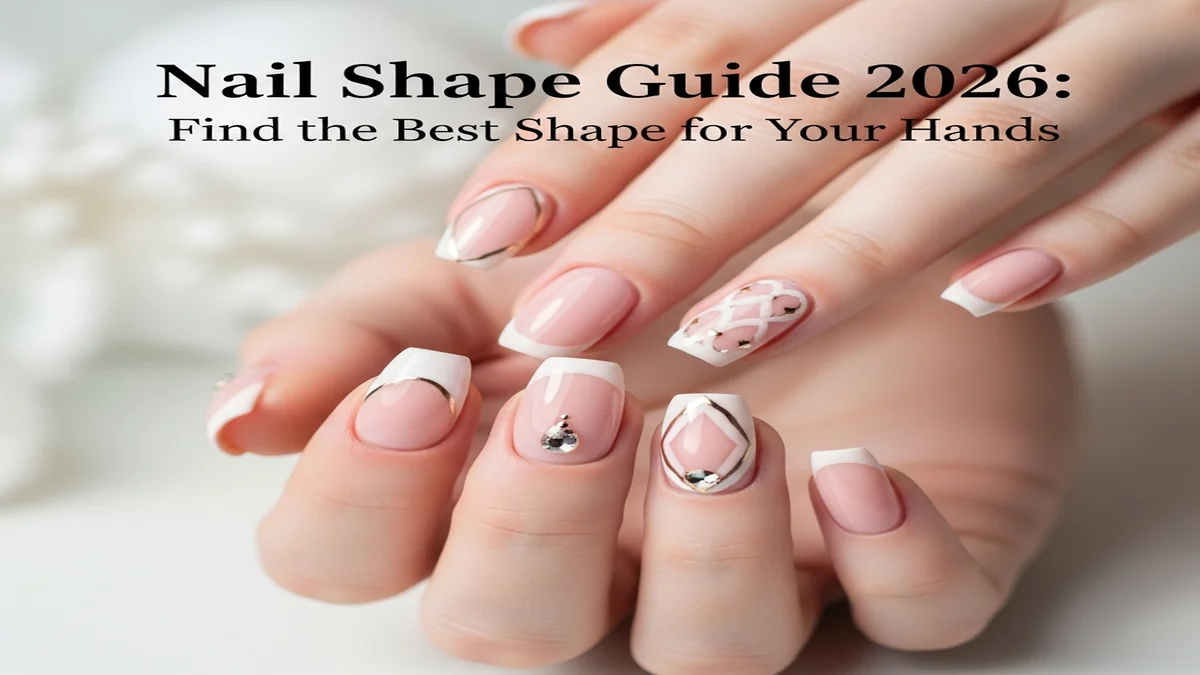
Nail Shape Guide 2026: Find the Best Shape for Your Hands
Nail shape guide — find the best shape for your hands and lifestyle. From almond to coffin, compare all options for 2026.
Glazed Donut Nails: Chrome Technique Guide + How-To (2026)
Glazed donut nails — get the viral chrome look at home with our step-by-step technique guide. Products and tips included.